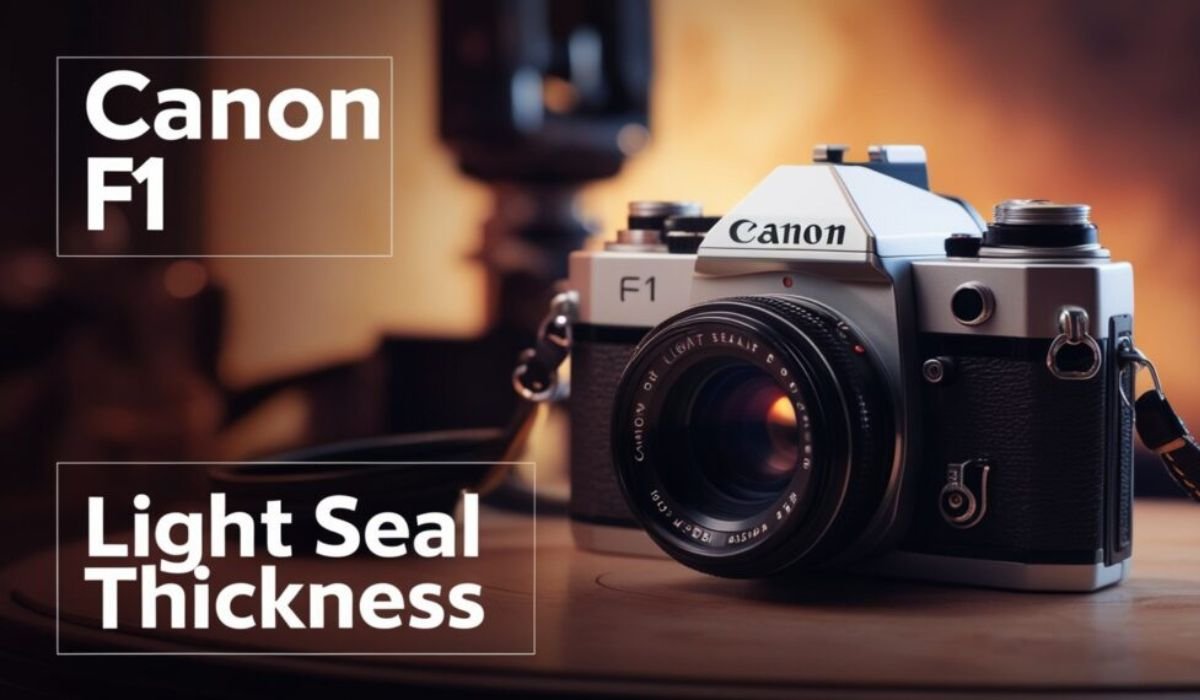
introduction to What Light Seal Thickness for Canon F1
The Canon F1 is a legendary camera that has captured the imagination of photographers for decades. Known for its durability and precision, the Canon F1 continues to be a favorite among enthusiasts and professionals alike. One of the ways to keep this camera in top shape is by maintaining its light seals. In this guide, we’ll explore everything you need to know about light seal thickness for the Canon F1, including factors affecting seal thickness, options to choose from, and tips for installation and maintenance.
Understanding Light Seals
What are Light Seals?
Light seals are small strips of foam or felt located around the edges of a camera’s back cover. Their primary function is to prevent unwanted light from entering the camera body and reaching the film, where it could cause overexposure or other issues. Without effective light seals, even a small amount of light leakage can ruin an otherwise perfect shot.
The importance of light seals cannot be overstated. While they may seem like minor components, they play a vital role in ensuring your camera produces high-quality images without interference. Over time, these seals degrade due to usage and environmental factors, making it crucial to replace them periodically.
Factors Affecting Light Seal Thickness
When it comes to light seal thickness, several factors can influence what is best for your Canon F1. Some of the key considerations include:
- Camera Age: Older cameras, especially those from the vintage era, often require thicker seals to compensate for wear and tear.
- Usage: If your Canon F1 has seen heavy use, the light seals may have compressed or worn down, necessitating thicker replacements.
- Environmental Conditions: Humidity, extreme temperatures, and exposure to dust or dirt can also affect the effectiveness of light seals. Cameras used in harsh environments may need more robust seals to ensure a tight seal.
Light Seal Thickness Options
Standard Thickness
The standard light seal thickness for the Canon F1 is typically around 1.5mm to 2mm. This is the original thickness used when the camera was manufactured and is generally sufficient for most cameras in good condition.
Pros of Standard Thickness:
- Works well for most Canon F1 cameras.
- Easy to find replacement kits with this thickness.
- Provides a good balance between durability and flexibility.
Cons of Standard Thickness:
- May not be ideal for cameras that have seen significant wear and tear.
- Can degrade faster in harsh environments.
Thicker Light Seals
In some cases, using thicker light seals can provide better protection against light leaks. Thicker seals, typically around 2.5mm or more, are recommended for older cameras or those that have been heavily used.
Benefits of Using Thicker Seals:
- Offers better sealing for cameras with worn or loose back covers.
- More durable in extreme conditions, such as high humidity or dust exposure.
- Provides additional cushioning, which can help prevent damage to the camera body.
When to Use Thicker Seals:
- If your Canon F1 is an older model or has seen heavy use.
- When you notice gaps or looseness in the camera’s back cover.
- If you frequently use the camera in harsh environmental conditions.
Thinner Light Seals
On the other hand, thinner light seals, around 1mm to 1.5mm, may be preferable in certain cases. While less common, thinner seals can offer benefits for specific camera setups, such as when using certain lenses or accessories.
Advantages of Thinner Seals:
- Can be useful for cameras with tight tolerances or specific lenses that require less pressure on the back cover.
- Easier to install in cases where space is limited.
- Reduces pressure on older, delicate components of the camera.
When to Be Cautious with Thinner Seals:
- They may not provide enough protection against light leaks in cameras with worn parts.
- Thinner seals may wear out faster than standard or thicker options.
- In extreme environments, they may not hold up as well.
Choosing the Right Thickness
Assessing Your Camera
Choosing the right light seal thickness for your Canon F1 starts with evaluating the camera’s condition. Here’s a simple checklist to help you assess what your camera needs:
- Check for Light Leaks: If you notice light spots or overexposed areas in your photos, it could be a sign that the seals are failing.
- Inspect the Back Cover: Look at the edges where the back cover closes. If there are any gaps or the cover feels loose, thicker seals may be necessary.
- Check Seal Wear: Over time, light seals may crumble or become sticky. If they are visibly degraded, it’s time for replacement.
Considering Environmental Factors
Another important factor to consider is where you use your Canon F1. Environmental conditions can have a significant impact on the effectiveness of light seals.
- High Humidity: In humid environments, foam seals can break down more quickly. Thicker, more robust seals may be needed to prevent light leaks.
- Extreme Temperatures: Both high and low temperatures can affect the flexibility of light seals. In very cold conditions, thinner seals may become brittle, while in hot conditions, thicker seals may provide better durability.
- Dust and Dirt: If you frequently shoot in dusty or dirty environments, thicker seals can help provide better protection against particles entering the camera body.
Recommendations
Based on different camera conditions and usage scenarios, here are some specific recommendations for choosing light seal thickness for your Canon F1:
- Well-maintained Camera in Mild Conditions: Standard thickness (1.5mm to 2mm) should work well for most users.
- Older Camera or Heavy Usage: Consider thicker seals (2.5mm or more) to ensure a tight seal and prevent light leaks.
- Tight Tolerances or Special Lenses: Thinner seals (1mm to 1.5mm) may be necessary if you’re using lenses or accessories that require precise fitting.
Installing Light Seals
DIY or Professional Installation?
When it comes to replacing the light seals on your Canon F1, you have two main options: doing it yourself or hiring a professional. Each option has its pros and cons.
DIY Installation:
- Pros: Cost-effective, satisfying to do it yourself, plenty of tutorials available online.
- Cons: Requires time, patience, and precision. Mistakes could lead to poor sealing or damage to the camera.
Professional Installation:
- Pros: Ensures a high-quality job with no risk of mistakes. Professionals have the experience and tools to replace seals correctly.
- Cons: More expensive, may take longer to get your camera back.
Tips for Successful Installation
If you decide to replace the light seals yourself, here are some helpful tips to ensure a successful installation:
- Gather the Right Tools: You’ll need a set of light seals, a small screwdriver, a toothpick or tweezers, and rubbing alcohol to clean the old adhesive.
- Remove Old Seals Carefully: Be gentle when removing the old seals to avoid damaging the camera. Use rubbing alcohol to clean off any remaining adhesive.
- Align New Seals Correctly: Take your time to ensure the new seals are aligned properly before pressing them into place. Once in place, press gently to ensure a firm bond.
- Test the Camera: After installing the new seals, take some test shots to ensure the seals are working properly.
Maintenance and Care
Regular Inspection
Light seals, like any other part of your camera, need regular inspection to ensure they are functioning correctly. Here’s what to look for during your inspections:
- Signs of Wear: Check for crumbling, stickiness, or cracks in the seals. These are all signs that it’s time for replacement.
- Check for Gaps: Ensure the back cover of the camera closes tightly. If you notice any looseness, inspect the seals for damage.
Cleaning and Care
To prolong the lifespan of your light seals, regular cleaning is essential. Here are some tips for keeping them in good condition:
- Dust Removal: Use a soft, dry cloth or a small brush to remove dust and debris from the seals.
- Avoid Harsh Chemicals: Don’t use strong cleaning agents on the seals, as this could cause them to degrade faster.
- Store in a Cool, Dry Place: Storing your Canon F1 in a climate-controlled environment can help prevent the seals from deteriorating due to heat or humidity.
YOU MAY ALSO LIKE: MyWape and the Future of Digital Expression
Conclusion
Choosing the right light seal thickness for your Canon F1 is essential for maintaining the camera’s performance and preventing light leaks. By understanding the different thickness options and factors that affect seal effectiveness, you can make an informed decision that suits your camera’s needs. Whether you opt for standard, thicker, or thinner seals, regular maintenance and careful installation are key to ensuring your Canon F1 continues to produce high-quality images for years to come.
FAQs
What is the standard light seal thickness for the Canon F1?
The standard light seal thickness for the Canon F1 is typically 1.5mm to 2mm, which works for most well-maintained cameras.
When should I use thicker light seals on my Canon F1?
Thicker light seals, around 2.5mm or more, are ideal for older or heavily used Canon F1 cameras that may have gaps or looseness in the back cover.
Can I install light seals on my Canon F1 by myself?
Yes, you can replace light seals yourself, but it requires precision. Alternatively, professional installation ensures a perfect fit with no risks.
What factors influence light seal thickness for Canon F1?
Camera age, usage, and environmental factors like humidity, temperature, and dust can all impact the ideal light seal thickness for your Canon F1.
How do I maintain light seals on my Canon F1?
Regularly inspect for wear, clean gently with a soft brush, and store the camera in a cool, dry place to prolong light seal life.